At start the program displays two windows: a control window and an image window. The control window has two identical sets of controls and displays. Each of them can be in charge for any of the images currently stored in memory; both can be in charge even for the same image.
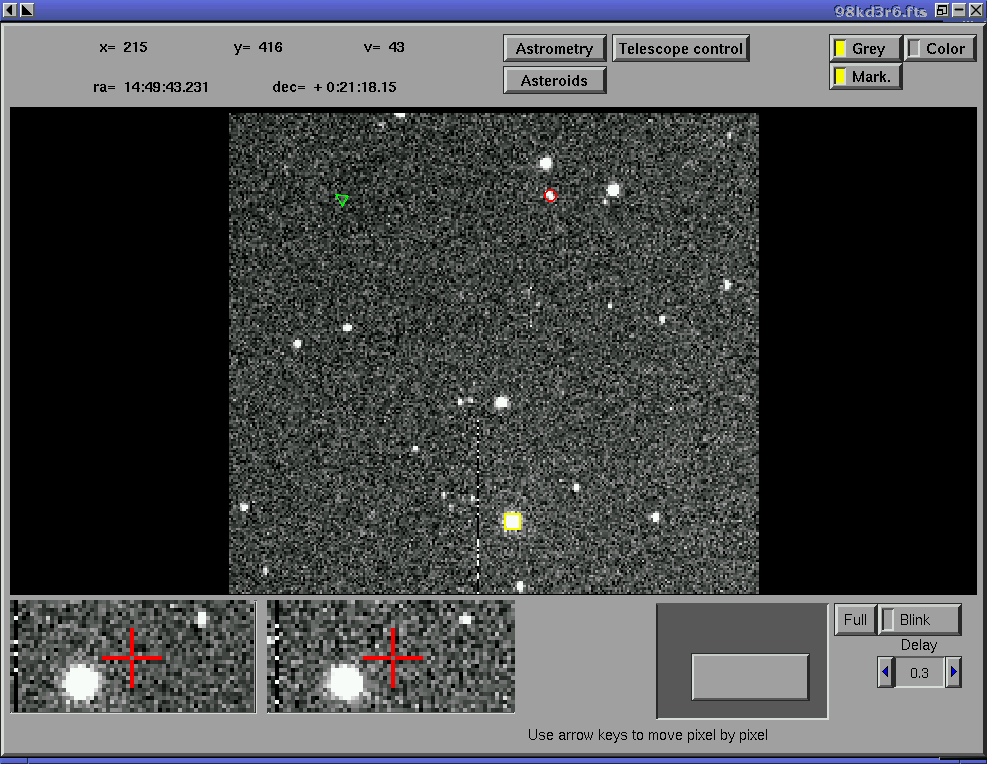
The image window displays an image belonging to a currently selected set of controls. It also shows a magnified small portion of images belonging to both controls, a button which switches blinking on and off, a menu called Astrometry and some additional buttons. You will also see a rectangle between right to the two zoom windows. This rectangle represents the image. When you load an image, the rectangle will be filled with another, brighter rectangle. This means that the whole image is displayed at once in the image window. When you choose to display a smaller part of the image, this will be reflected by the size and position of the brighter rectangle.
As you choose some of the items from the Astrometry menu, new windows may appear. Some of them have to be closed before you can proceed with other operations, some of them not.