next up previous contents
Next: 12. Astrometry Up: Fitsblink 3.13 user manual Previous: 10. Markers

Subsections

11. Blinking

At any time, fitsblink can display only one image. You can choose which image is displayed (of those already stored in memory) by pressing either 1. image or 2. image button. It is also easy to switch between images within one set of controls. You can either press the left mouse button when the cursor is on the file name and select new image from the list which appears, or press the middle or the right button to sequentially switch between files.

If you wish to blink images, just press the Blink button. All of the currently loaded images will be displayed alternately in the order as they were loaded. You can adjust the time between images by pressing left or right arrow in the control inside the blink window.

11.1 Image alignment


Figure 2: Image alignment.
\begin{figure}
\begin{center}
\epsfxsize=12cm
\epsfbox{locked.eps}\end{center}\end{figure}

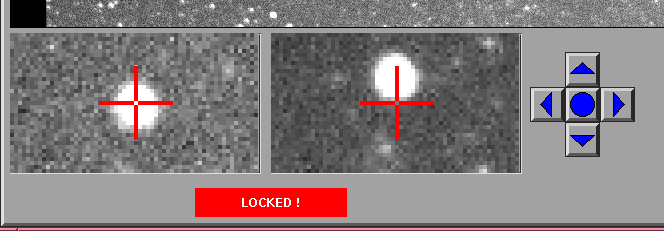
Even when the images you want to blink show the same field of view, they are typically not completely aligned. You can align them by the following procedure, assuming you already have two (or more) images in memory.

1.
In the control window, display the name of the first image in the left control and the name of the second image in the right control.
2.
In the blink window, find a star and center it in the left zoom window.
3.
Double click on the star. Four buttons with arrows and one with a circle will appear. Also under the zoom window a red Locked! indicator will appear. See fig. 2.
4.
Click on arrows until left and right zoom windows are centered on the same star.
5.
Press the button which contains a circle or double-click again inside the image.


next up previous contents
Next: 12. Astrometry Up: Fitsblink 3.13 user manual Previous: 10. Markers
Jure Skvarc
1999-09-19